


A huge part of learning embedded IoT is doing hands-on work through projects that involve programming microcontrollers. To achieve that goal, some sort of development board is needed. A problem that learners often struggle with is the process of choosing a development board. The challenge emerges from the existence of a huge variety of boards where there isn't a one size fits all option. Below I will be describing the steps that I take in choosing a board. Note that the below relates mostly to boards needed for bare-metal development.

Step 1: Identify What You Want To Do/Build 👷
As obvious as it sounds, I cannot emphasize the importance of this step enough, and is the first question I ask when one is seeking help looking for a board. A lack of clarity on what you want to do makes selecting a board ever harder. Even if it is for learning then, what is it you want to learn? Is it a certain architecture, peripherals, or programming a specific application?
The clarity you achieve from identifying what you want to do with the board will help you answer all the forthcoming questions. You'll see that there might be things you don't care about and that's ok. All you need to do is assure that your board can at least provide the things you need. What is also important here is that you be as detailed and specific as possible.
Let's look at two examples of descriptions. A non-detailed description would look something like this:
I want a board to read temperature measurements from a sensor
One can argue that any board can do this and is probably true. However, how does the statement even help hone in on a particular board? Compared to something like:
I want a board to read analog temperature measurements every 10 ms with 1-degree Celcius accuracy using an ADC integrated into a microcontroller. The microcontroller should have an ARM Cortex processor. I want to also be able to send the measurements I collect to a remote web server using board-integrated Wifi every 10 seconds. I want to power the board using USB power from my PC and program it using the C language with any standard IDE.
I think the difference here is obvious. I can even add more detail as appropriate. If you notice here I am also defining what the sensor interface is like (analog temperature sensor). This means that sometimes you also need to identify ahead of time the external components that you want to work with in this step as well.
I'd like to add that sometimes you can skip to the third step immediately if you don't necessarily care about microcontroller performance and architechture specifics. That way you can focus on board functions that your application needs. If you are a learner though, the second step is necessary at times if you want a simple device targeting a specific architecture for learning purposes. Some boards that exist in the market, although target learners have microcontrollers with more complex architectures are hard to navigate.
Step 2: Identify a Microcontroller 🤖
In identifying the microcontroller, part of the challenge is that there is an even wider variety than boards. In choosing a microcontroller the selection criteria are as follows:
- CPU: Are you looking for a specific architecture? Does it have to be ARM architecture, RISC-V? If so which processor flavor do you require?
- Performance: Within the architecture selected are there certain performance parameters you are looking for? For computational performance is there a minimum clock frequency you require? Bit-width? a number of pipeline stages? certain hardware supported features like floating point math or hardware multiply? There is also memory performance. Is there a certain architecture required like Von Neumann of Harvard?
- Memory: How much code and RAM memory do you expect your application is going to need? Also, Do you need an external memory interface? Ex. DDR memory for an image processing application.
- Peripherals: Is there a specific peripheral that I need (ADC, CAN, USB...etc.)? Moreover, do I need more than one instance of each? Are there any specific hardware features I need these peripherals to support (Ex. a minimum resolution for ADC or minimum speed for serial communication)?
- Power: Does your application require any specific low power modes that the microcontroller needs to support? Moreover, does your application require a maximum amount of power consumption while in active mode?
- Supplier: After you have determined the above, it's good to identify a few microcontroller options from different popular suppliers. This would make your life easier in the board selection process in the next step. Typically suppliers have families of microcontrollers that support various levels of features where each family targets a certain application area (Ex. automotive, industrial...etc.). Popular suppliers include ST Microelectronics, Texas Instruments (TI), Microchip/Atmel, Nordic, Espressif, and Rasberry Pi.
- Ecosystem: This is important on all levels (board and controller). Different suppliers have varying quality of documentation. If you are a learner, then obviously you need the friendliest possible documentation. I see this as something where each person makes their own assessment. Additionally, you'd prefer that there is a huge support base like internet forums of what have you around the controller you choose in case you run into issues. All of the suppliers mentioned in the previous point have well-developed ecosystems for most of their devices. Though you have to be aware the more advanced higher performance higher feature devices are typically the ones that have less content online. I think this has to do mostly that they are not popular for learning and typically used by professional teams in the industry.
Again, keep in mind you do not have to know all the answers to the points above, but you need to define something to help you choose. As a matter of fact, your answer could be that it doesn't matter for several parameters. Additionally, certain things sometimes come through experience and estimation, like code memory size so you can really give a solid answer. For a beginner though, this is something that most of the time you don't need to care for much until you start building more complex applications.
Finally, keep in mind there are a ton of microcontrollers available but platforms integrate only a few. Suppliers typically create a family of microcontrollers that scale up in performance and features. I would say that for learning purposes, it's better and easier to identify a family of controllers that work for your purpose rather than a single one. This gives you more flexibility to find a board that is compatible with you needs in the following step.
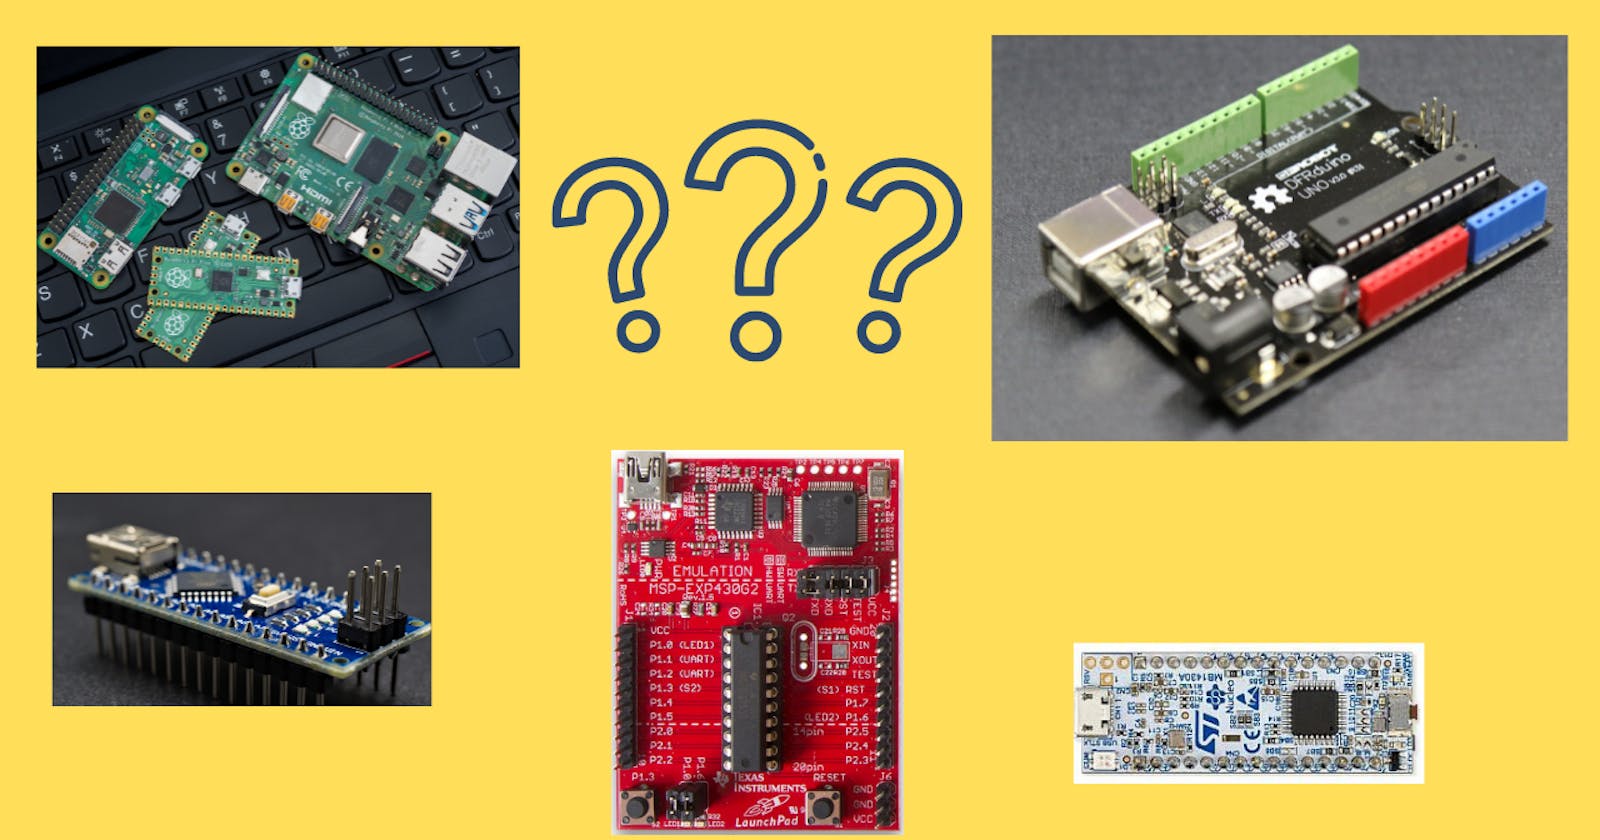
Step 3: Identify a Board 🖼
Now that we identified various compatible microcontrollers we need to find a board that incorporates any of them. To choose a board selection criteria includes the following:
- Supplier/Platform: I would say this is probably one of the most important criteria. Why? well, you need to make sure that there are a good amount of quality resources and software tools to make your life easier. Especially when you run into problems, you want to be able to access forums and build on others' experiences or even ask your own questions. Better yet, instead of writing your own code from scratch for every component find existing libraries written for popular components.
- Ecosystem Supported IDEs & Languages: Parts of the ecosystem related to documentation and forums tie directly to the previous point. However, there are sometimes individuals that prefer using a particular IDE (Ex. Visual Studio or Arduino IDE) or language (Ex. Micropython). If you have such preferences, you need to ensure that the board can support your choices.
- On-Board programmer: You have to be aware that some boards (commonly form factor) do not have a built-in programming interface/device. Essentially, to program the board you'd have to purchase a programming interface separately and wire it manually sometimes. This might be an inconvenience for many and is highly not recommended for a beginner.
- Board Power: Is there a specific way you want the board to be powered? Through USB, a power jack, or something else?
- Interfacing Voltage Do you require specific voltages to interface with external components? Common voltages include 5V and 3.3Vs. Additionally, if you are going to use the power pins, is there a certain amount of minimum current you expect the onboard power supply to provide?
- Form factor: Boards come in many sizes and shapes. Is there a specific one you require?
- Interfaces/Standard headers and Ports: There are many standard interfaces out there that boards support one of the most common being the Arduino R3 expansion header for shields. These make interfacing way more convenient so that you don't have to do any manual wiring. Additionally, there are various ports out there like different flavors of USB, RS-232, VGA, and HDMI among many others. As a result, you need to consider what standard interface headers you need.
- On-Board Inputs, Outputs, and Memory: Some boards come with integrated inputs and outputs like push buttons, accelerometers, touchscreen LCD displays, wireless interfaces, or seven-segment displays. Sometimes boards also have integrated memory, this could be an external EEPROM, DDR, or other forms. Having integrated devices makes things easier to manage and more compact. These types of boards are typically targeted for industry applications.
Board Classification
To give more context, I'd like to point out the types of boards that are commonly available by suppliers in the market. Knowing that this might make the selection process easier. While this is not a rule, it is common to see that board suppliers typically have three tiers of boards as follows:
- Barebones: These are minimal boards with the lowest cost and provide flexible prototyping. They are good for evaluating a certain microcontroller and give lots of hardware flexibility. Additionally, they typically have standard headers that support adding expansion boards (Ex. Arduino shield interface).
- Feature Targeted Boards: These are boards that come with certain integrated features like a few LEDs, a simple LCD, seven-segment displays, or some buttons. They are higher in cost than barebones and are good for evaluating controllers with certain features without doing any external connections. These boards also typically do not have standard expansion connectors or standard ports.
- Full Evaluation Boards: These are the most expensive and are packed with complex integrated features like an LCD touchscreen. They would additionally have many standard connections for expansion and also standard ports including USB, ethernet, audio, VGA, and HDMI.
Popular Platforms 🎭
As mentioned earlier, identifying a platform is one of the most important criteria. This helps also extensively reduce the number of choices. After that, you can choose a specific board from that one platform supplier. Here I list some of the popular platforms and what they are known for:
Beginner Friendly Entry Level General Embedded IoT Platforms
- Arduino incorporating Microchip/Atmel microcontrollers (can be used for advanced development as well)
- ARM mbed targeting a large variety of ARM-based microcontroller boards.
Beginner to Advanced Embedded Platforms
- ST Microelectronics Nucleo and Discovery series
- TI launchpad
- Rasberry Pi Pico is specific to one device (the RP2040 with a custom dual-core architecture). Documentation is great and also can be programmed in micropython.
Entry Level IoT Focused Platforms (Wireless Enabled)
- ESP dev kits by Espressif systems
Intermediate to Advanced IoT Focused Platforms (Wireless Enabled)
Custom Platforms
Conclusion
Identifying a board for embedded IoT is a daunting task even for practiced users. With experience, an individual builds certain preferences and the selection process becomes quicker, but still, the variety of choices is huge. It is not uncommon that an individual acquires a board to discover that it doesn't completely fit the need and it's okay. It's part of the learning process and happens even with the well-trained. The point is to try to reduce the chance of that happening. As a result, it's always good to have a proper framework/process in choosing which board to acquire. In this post, I provide a framework to follow for selecting the best board for your next project. Have I missed anything? Are there any other parameters you look at to identify boards? Share your thoughts in the comments below 👇.